Wednesday, October 2, 2013
Monster pencil case tutorial
This is a simple easy project that takes almost no time, I love making zipper pouches. Here's what the fabric looks like:
First cut out all the pieces. Cut a matching piece of lining fabric for each part. Cut the face straight across where the mouth will be.
I used a 7" zipper for this that needed a bit of extension, luckily there's extra fabric for that. Layer the fabric, right sides together, with the zipper in between like a sandwich, and sew across where the zipper teeth end.
Lay the head, zipper and lining together. Make sure the zipper teeth are against your cool outside fabric, not the lining.
Sew across the head.
Open the head up and iron flat.
Do the same for the mouth layers.
Open the mouth layers and now you've got a whole face that unzips!
Now lay the backing down, set the face on top of it, and set the back of the head right-side down on the face.
Pin together.
Sew around, but leave 3-4" open at the bottom to turn inside-out.
Turn, and topstitch or hand stitch the opening. Ta-da! Scary! Yet functional, don't you love it!
Friday, September 27, 2013
Etsy title tips: get your creation found
So all you need for a good listing title is this: use words that people will search for.
You hold your creation in your hand and you think "this is something I made with those extra zippers in my craft room"... that's what it is to you. But what is it to someone else? A blue purse. If someone wants a blue purse, you have JUST the item for them, don't you? So that's what you should use as the first words in your listing title!
A good thing to do is to use Etsy's search bar to see if people are actually searching for the stuff you're listing in your shop. For example if you type in "tote bag", all sorts of stuff comes up. Lots of people are searching for tote bags, there are even other suggestions, if you make a "chevron tote bag" you're really in luck. That would be a great phrase to start your title off with.

The most common mistake I see is shop owners who want to be descriptive and unique, so they scrape up some descriptive unique words. But shoppers don't think to use those words in search, so they're not helping you. If you type in a phrase and get no suggestions, it's probably not too common.

Etsy provides us with a very nice "shop statistics" page, where you can see what keywords are bringing in the most people to your shop. If you list five similar items, be sure to give them all a wide selection of titles and tags, and see what works best. Experiment and diversify! Maybe some people are searching for a "blue hat" and others are searching for a "wool hat" - if you've got two similar blue wool hats in your shop, give them different titles and you'll catch the eye of both sets of people.
Just remember that your target audience is always the people who come to Etsy with money in their pocket to buy something - that's who you want to find your item. Good titles are the most important tool you've got for that!
Tuesday, September 24, 2013
Survey of spoonflower colors - full saturation to black gradient
To help me out recently, I printed a swatch that crosses all hues, fading into black. Here was the original graphic I uploaded:
And here was the printed fabric on kona cotton:
I then made a "color averaged" version.
Now when I design my fabrics in GIMP, I have a two-layer file with my color averaged file on the top layer, "graphic" one underneath. I pick out what I want a color to look like using the color-averaged version, but "grab" the original version of it.
I plan to do some other gradients with this method... for example, I'm still trying to figure out how to get brown. Pastels are a lot easier on spoonflower, much more likely to come out looking like they do on the screen.
Thursday, September 19, 2013
My geeky baby onesie designs finished up by clichemom - yay!
Then I remembered heck, I'm on etsy! There are shops all over the place run by people looking for more sales, talented artists who can totally sew. I searched around and found someone who was already making geeky baby items, with snaps even... for me that was the most pain-in-the-rear part of the baby onesies, I hate closures. But my new friend Katie at clichemom has no problem with them.
So I convo'ed her to ask if I could send inquiries her way, she said sure, and we're off... she's fulfilling orders and giving me design feedback, I'm back to being just a fabric designer. Collaboration is awesome!
Here's what originally drew me to approach her, these adorable suck pads... basically little pads that snap around your baby carrier (bjorn, ergo, whatever pricy thing you've invested in) so your kid can drool all over the straps and you've got an easy removable bit to throw in the washer:
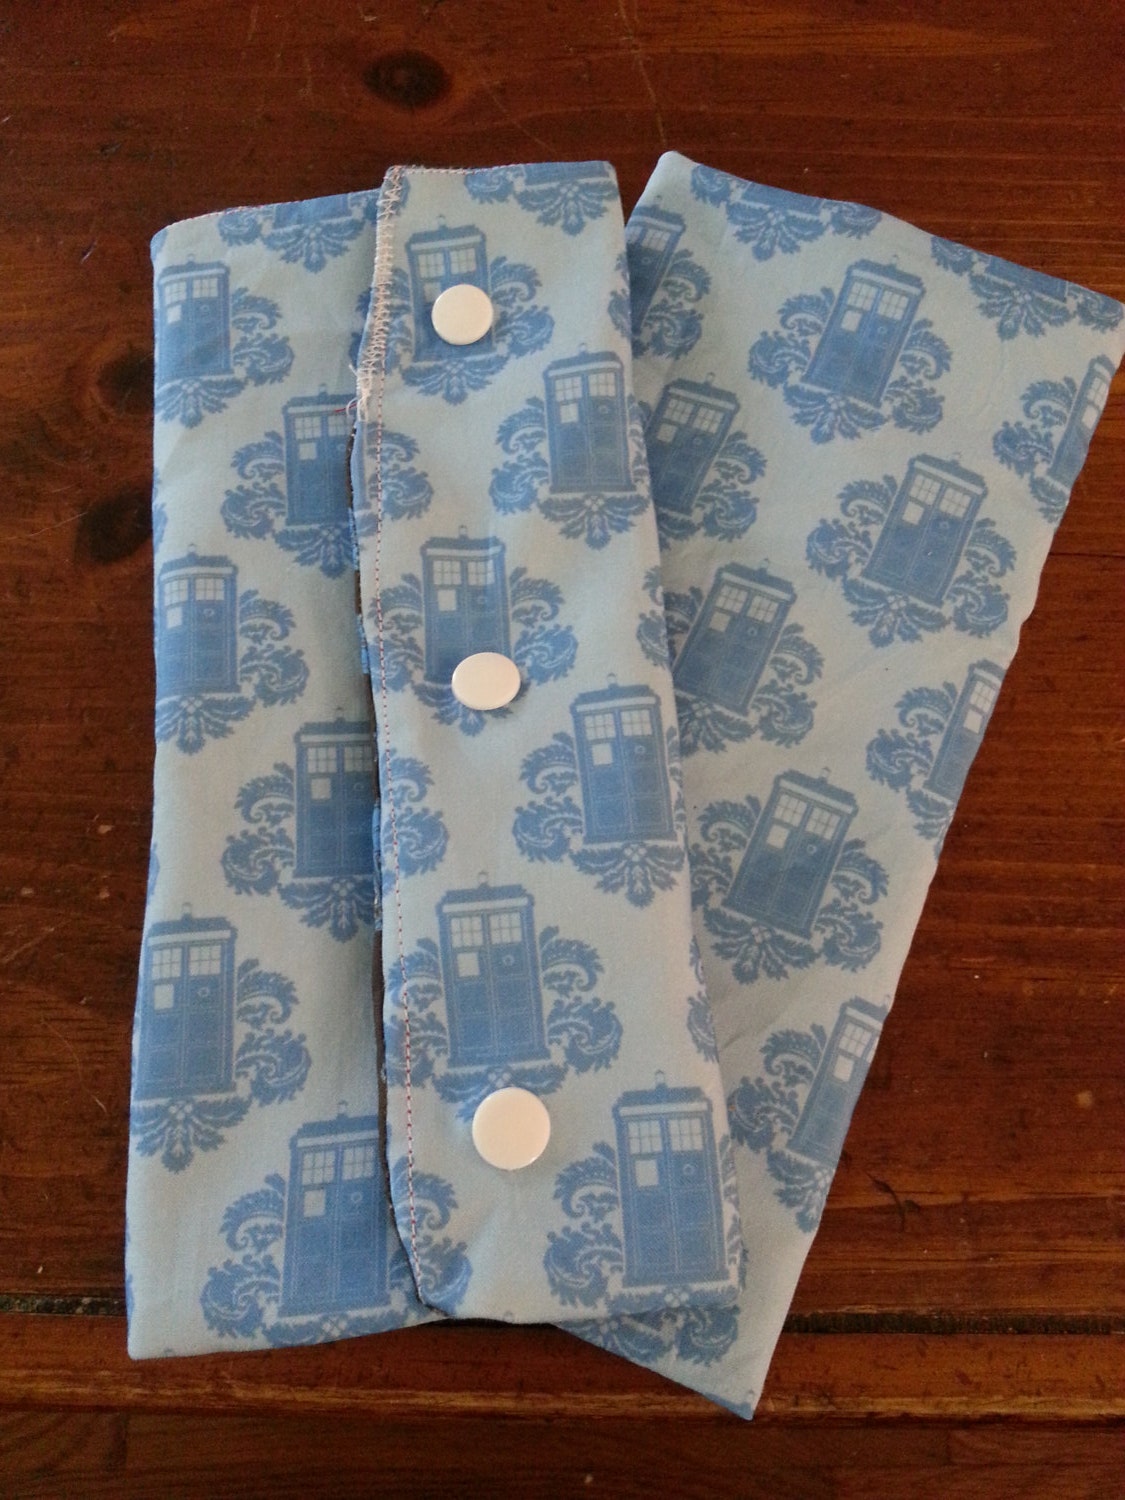 Blue fancy tardis suck pads
by cichemom
And here are some of the onesies she's making with my fabric:
 Little yellow trekkie
by cichemom
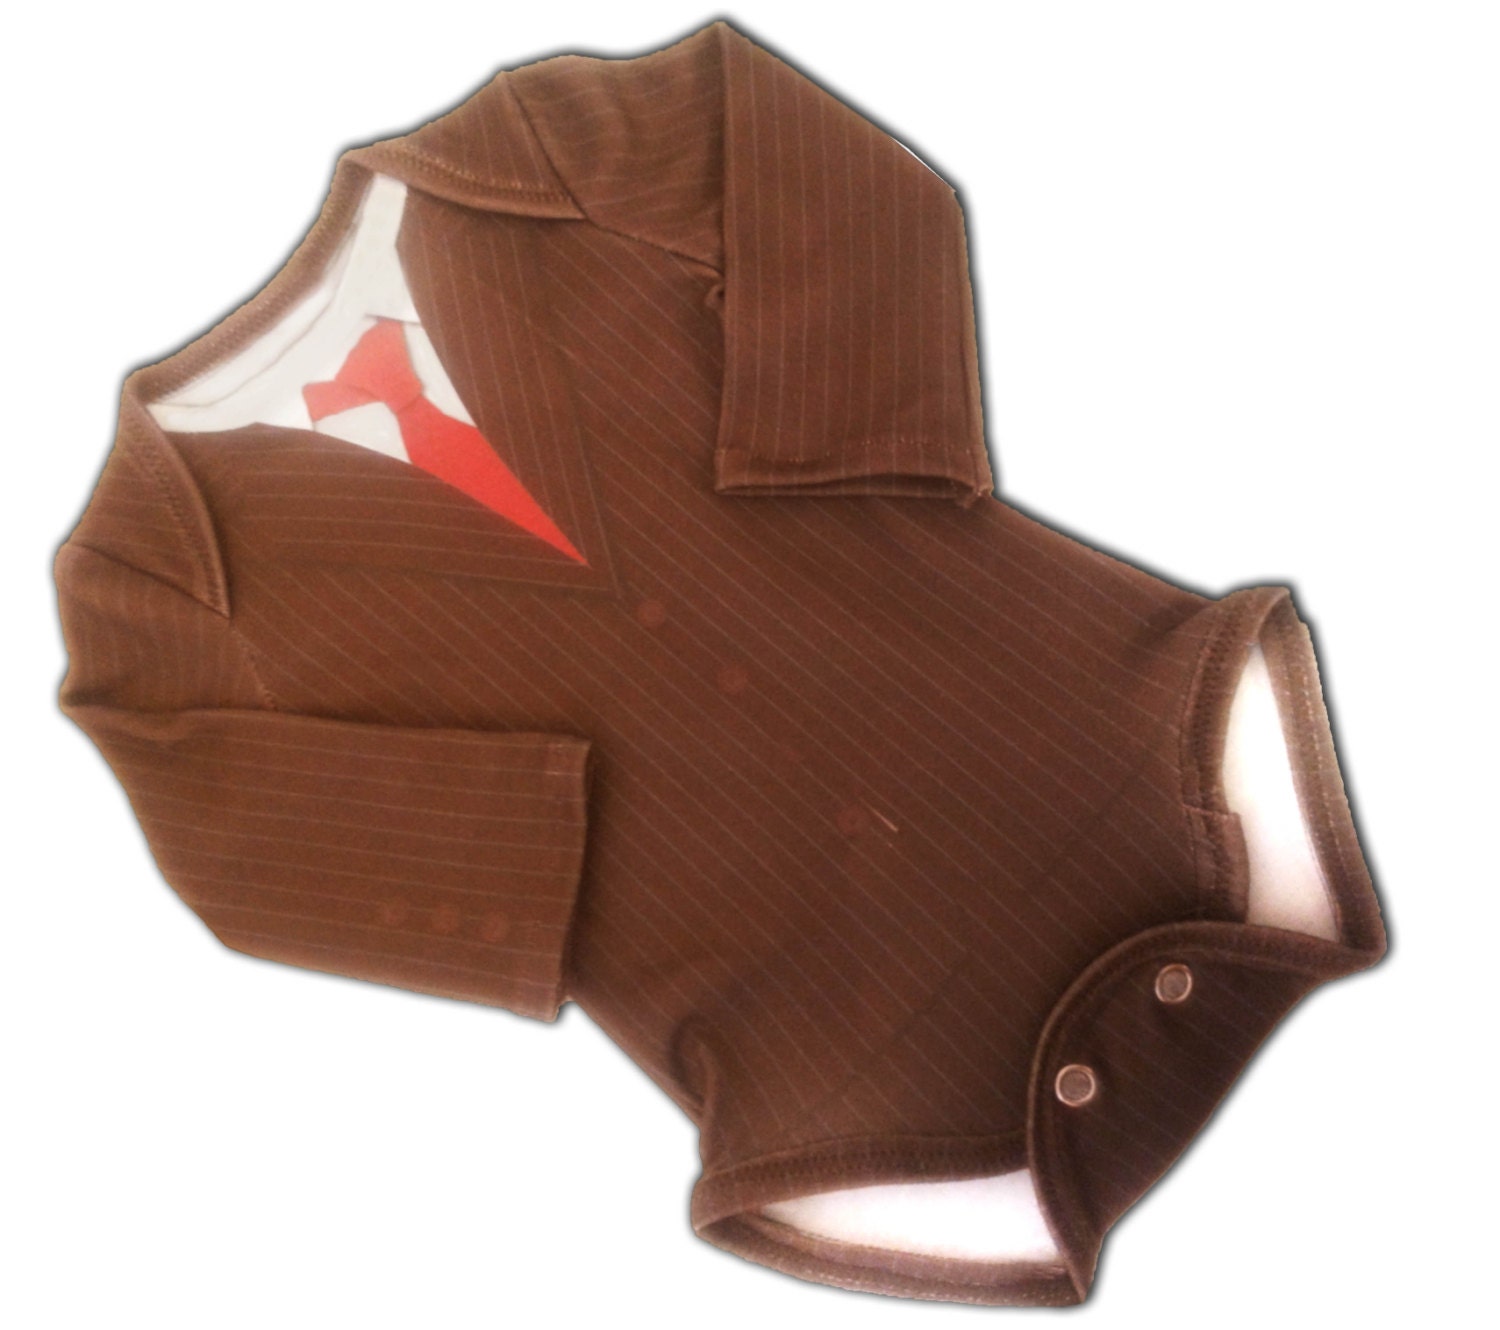 Little 10th time lord- 3-6 months size
by cichemom
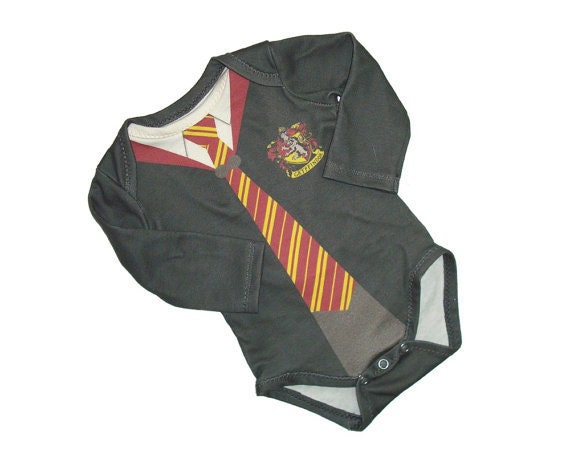 Little Wizard 3-6 months onesie
by cichemom
Saturday, September 14, 2013
mod podge cabinet door jewelry holder
Yes, I have a cute jewelry tree that sets on my dresser but my kid kept getting to it, so I came up with this solution, which is out of her reach!
1) Bought a 50 cent stick of wood at the hardware store
2) Painted it with mod podge, wrapped it with scrapbook paper, mod podged again
3) Stuck the ends to the door with command adhesive strips
Since my cabinet door is inset, I can just hang the necklaces over the stick.
Thursday, September 12, 2013
2013 trending color: flat brown
No, the real trending colors for the year seem to be flat ones. Low saturation, neutral, relaxing, and homemade-looking. With that in mind, I've chosen a nice flat brown for my latest spoonflower fabric: geek glasses on flat brown
The color: #AB9073. I seriously compared a spoonflower color sample swatch to a chunk of cardboard. Don't laugh, I love it.
Here, I will put chevrons on it:
Wednesday, August 21, 2013
Simple knit toddler dress
Sorry the picture doesn't show the dress on my child, she is cute but moves too fast to be an ideal model. So far!
Really simple, the remnant was 54" wide and a little over .6 yards, I figured out that with 3/4 yard I could make dresses for all kinds of kids. Here's all I did:
1) Cut 3" off one end for the dress straps - in the direction so they wouldn't stretch too much. Made tubes out of them that turned inside-out and there ya go, straps.
2) Made the top section, 7" wide (I would fold it in half lengthwise to make the top) and long enough to wrap around my kid's top - about 22" is good for a size 3-4T.
3) Used my skirt pattern calculator to figure out the bottom part. For the "waist", I put in the kiddo's hip measurement. 16" length would hit about knee-level. For the width I just played with it until the "full pattern width" was as wide as the fabric I had, when I folded it in half (that calculator makes you a skirt that you have to cut two pieces of).
4) I sewed the top part in a tube and folded it lengthwise. Sewed the straps to the top. Sewed the two sides of the skirt together.
5) Then when I attached the skirt to the top I just stretched the top to fit around the skirt so the thread would have enough stretch to go on and off.
If I were to do it again I'd put the straps a little closer together, when laid down they're about 1.5" from the sides, need to be 2 or 2.5". But the skirt/top combo worked out awesome. And this whole getup was like $3, so that's a win for me!
Monday, August 19, 2013
Featured shop: KentuckyBluebird Eco-friendly mats and homewares
 41st place August 15th, 2013
Theme Thursday! Wood items from $1-$50.
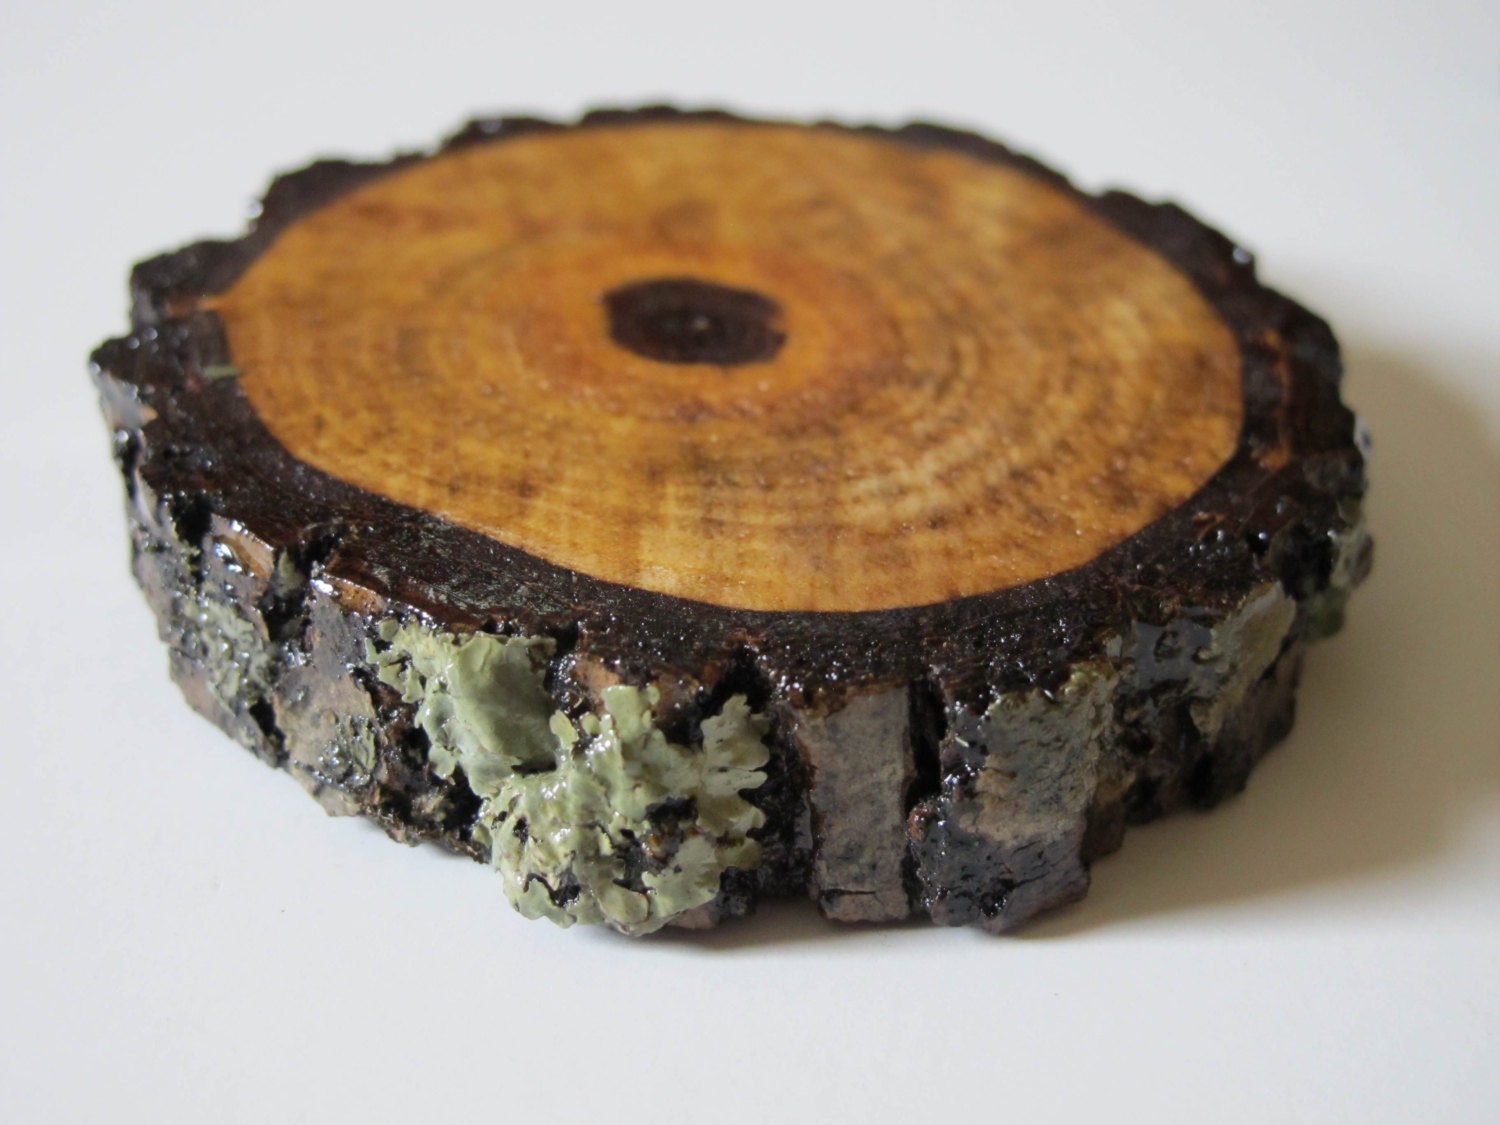
Set of Four Natural Wooden Coasters- Handmade from Salvaged Black Walnut- Recycled Felt Bottom
by KentuckyBluebird
Coupon code: ONLINEAD 15% off
Tell us a bit about yourself?
We are a couple from Lawrenceburg, KY. We both have full time jobs, but in our spare time, he is a woodworker and she is a seamstress. We also enjoy organic gardening and following our favorite bluegrass and folk musicians.
 Featured July 19th, 2013
July 19th! Items from $19-$19.99.
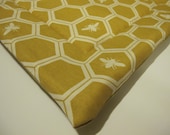
SALE Organic Small Washable Pet Mat / Bed for Cats or Small Dogs -Honey Bees
by KentuckyBluebird
Coupon code: ONLINEAD 15% off
What got started making handmade items?
We are both very interested in buying local and being as self sufficient as possible. Thus, we usually ask ourselves before buying something factory-made if we could make it instead or buy it from someone who could make it by hand. We are also obsessively productive people and would rather be making things than watching TV.
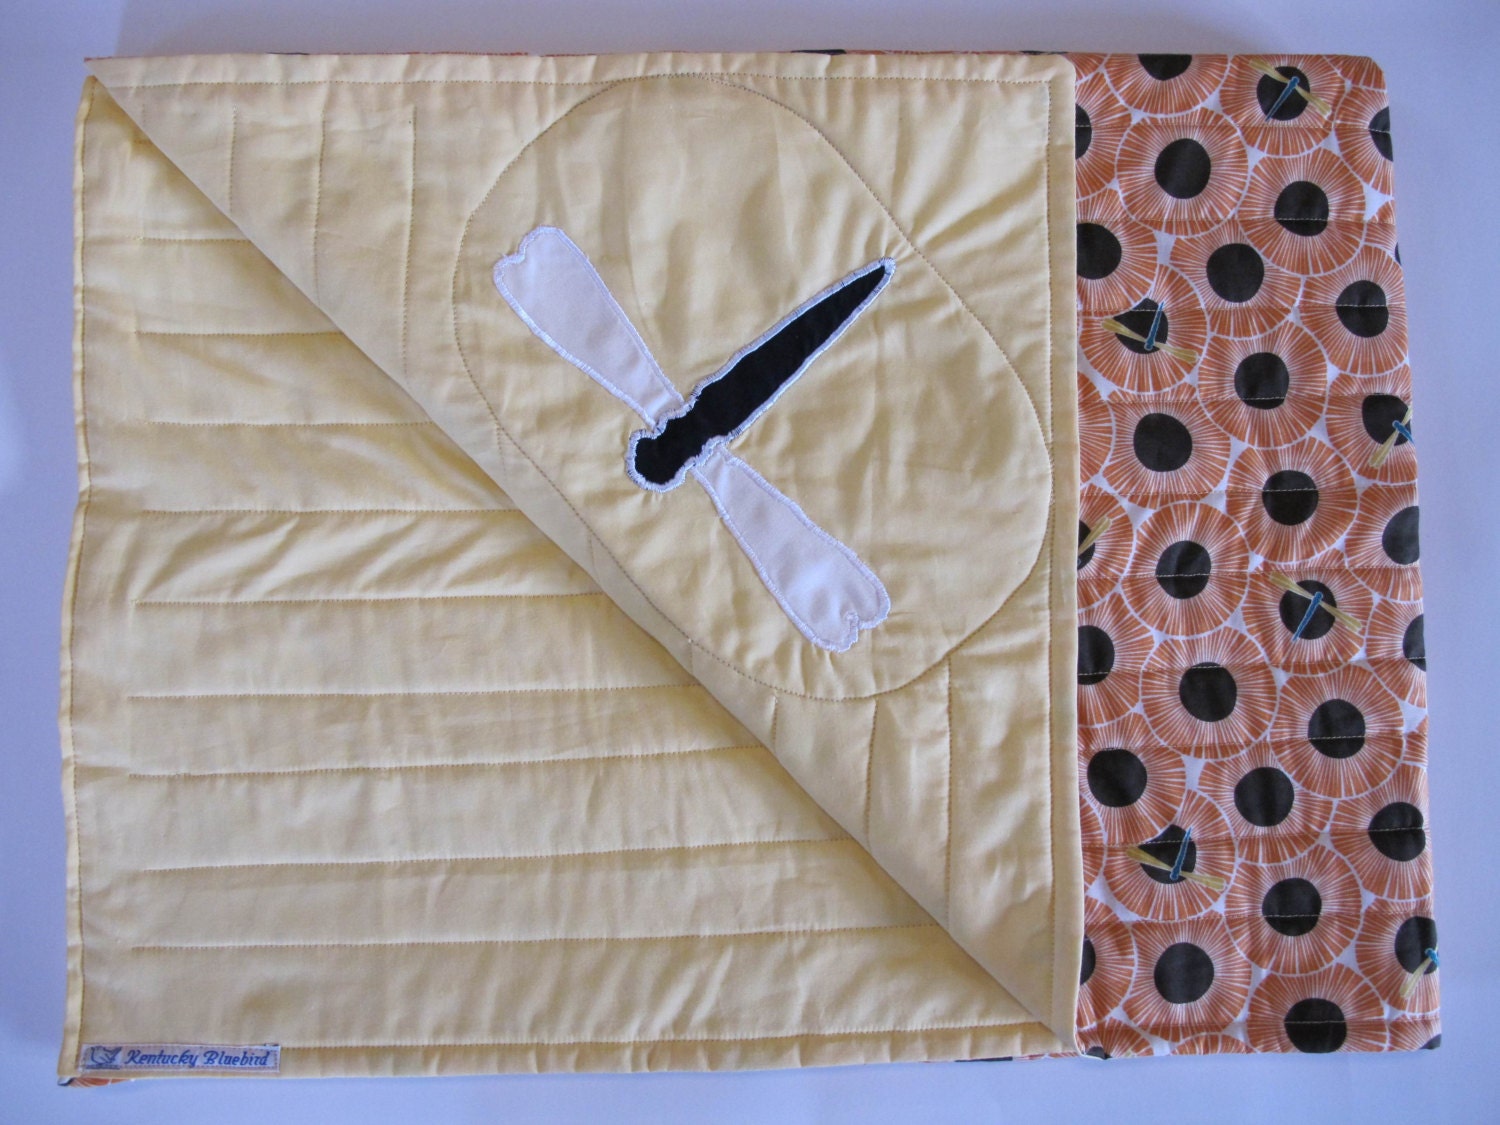 SALE Dragonfly Baby/Child Quilted Blanket- 100 Percent Organic
by KentuckyBluebird
What's your home like?
We live in Lawrenceburg, which is in the heart of bourbon and horse country in central Kentucky. Our abode is a small, older white house, surrounded by cows and hayfields. We have a dog, five chickens and a huge garden.
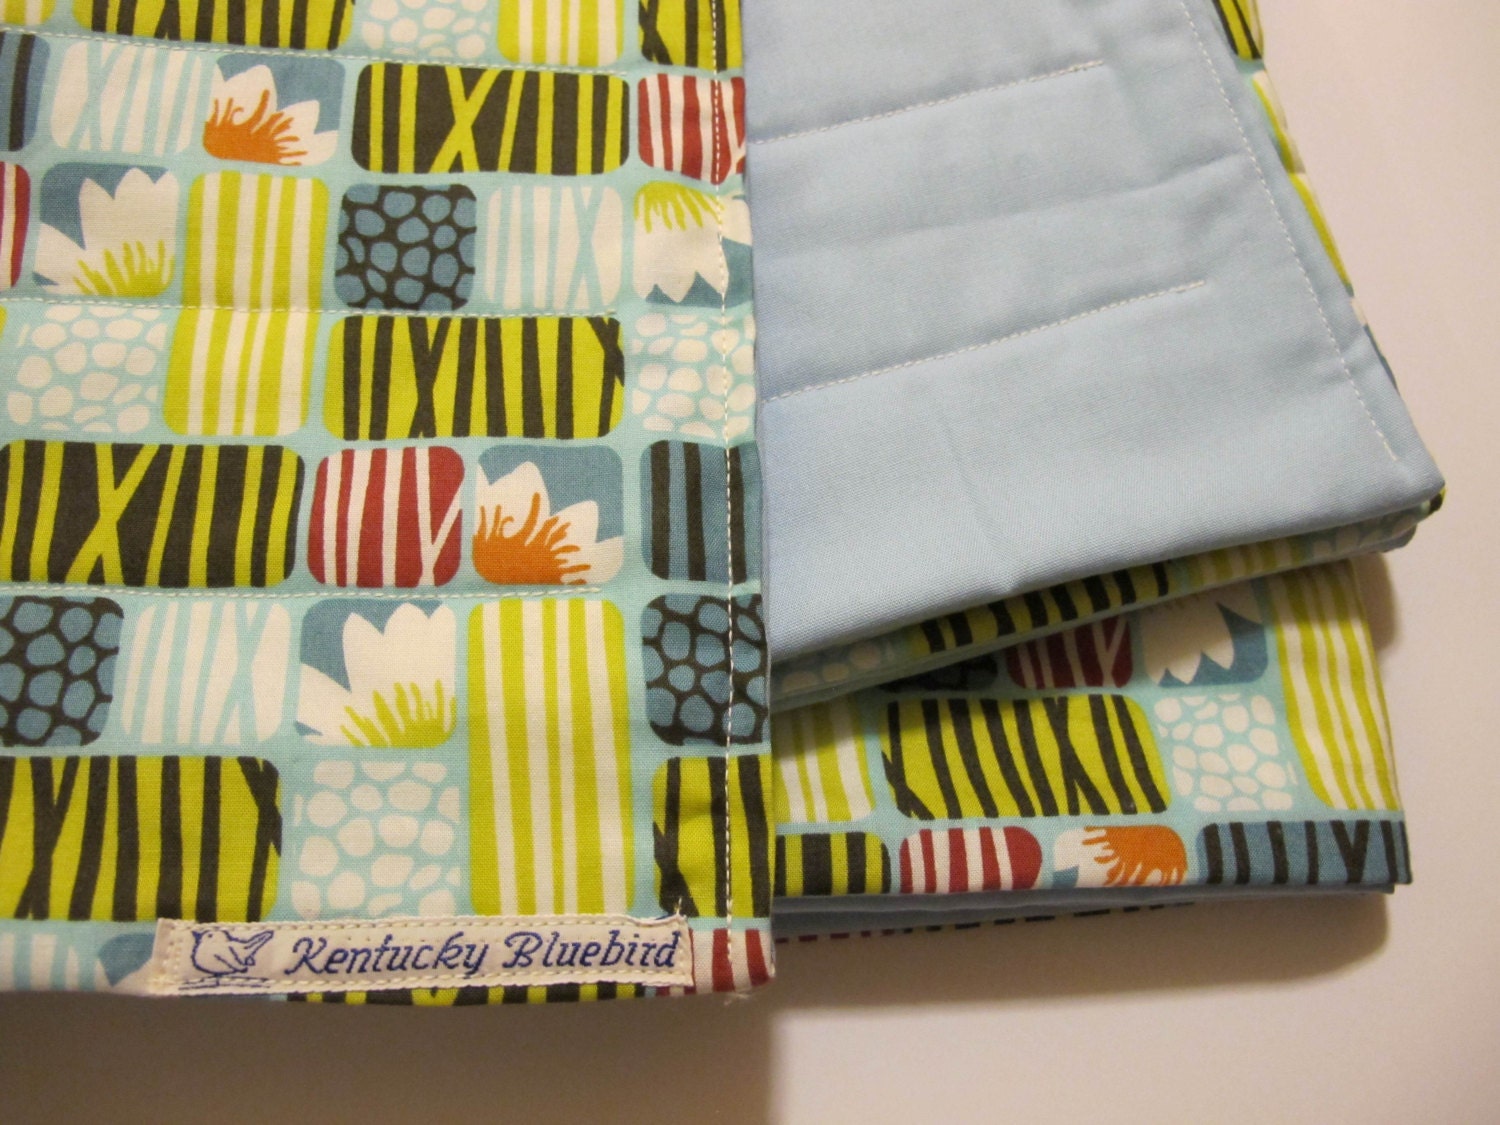 Blue Nature Baby/Child Quilted Blanket- 100 Percent Organic
by KentuckyBluebird
Tips for other etsy artists?
Don't make anything you don't enjoy making. You started an Etsy shop to love what you're doing- right?
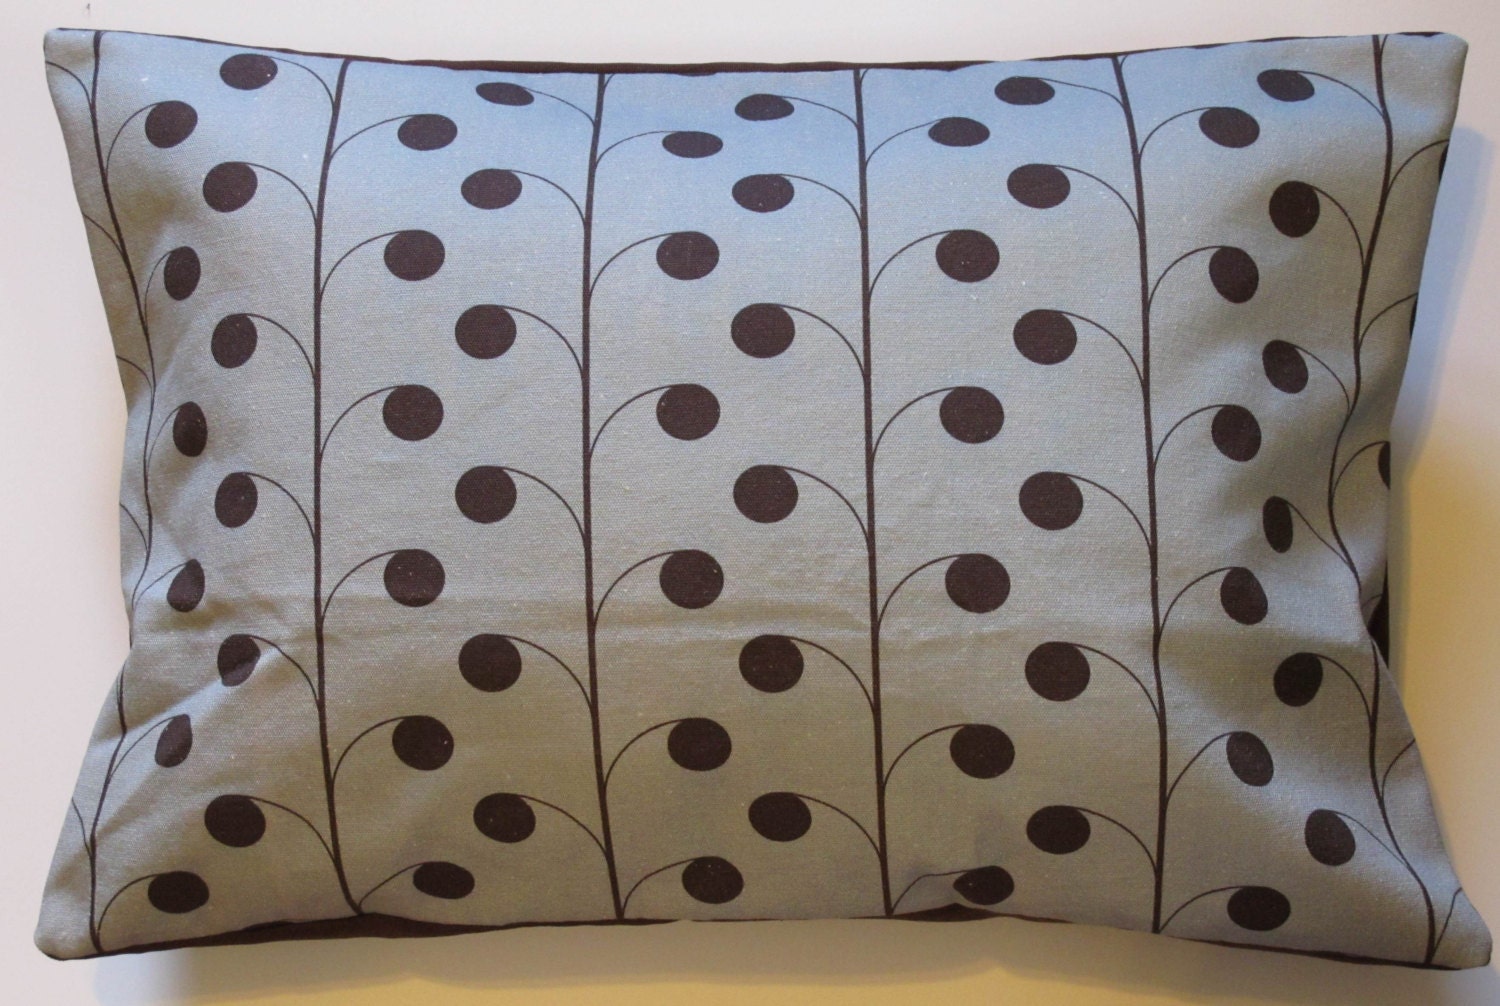 CLEARANCE Extra Small Designer Organic Cat/Dog Bed - Washable- Pillow Insert Included- Eco Friendly
by KentuckyBluebird
Most important thing you've changed about your shop or products since starting on etsy?
Adding more variety was the key to success for us.
Have you bought anything cool off etsy lately?
We buy a lot off of Etsy. We recently bought a bunch of yarn made from old t-shirts for wrapping our items for shipping. We love the eco-friendly products available on Etsy!
 SALE Organic Dog Bed - Washable- Recycle Your Old Pillows- Birds in Flight
by KentuckyBluebird
Saturday, August 17, 2013
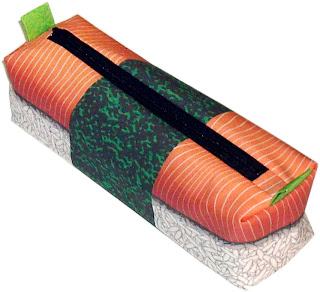
Sushi zipper pencil case
This fun project is now available from my spoonflower shop: sushi pencil case cut & sew:
I guess it could hold chopsticks too?
Anyway a fat quarter of cotton makes the case, plus an optional crayon roll that coordinates quite nicely.
Here are some pictures of the finished product:
Thursday, August 15, 2013
Distressed Damask - GIMP Tutorial
You can use this for any boring pattern that you want to make distressed and earthy looking.
Here's what we're starting with:
First I'm going to recolor it. I kinda like purple and gray this week, so with purple as my main color I use the bucket fill tool. I set the mode to "lighten only" so it only gets the black parts, and hold down shift so it fills the whole layer purple:
Next I change my color to light gray and go to Layer: New Layer and set the color to "foreground color".
Then Layer > Stack > to bottom moves it underneath the damask:
I go to Image > Flatten to get them on the same layer.
Now I want to tile it so I'll have a little variation in the distress pattern. I go to filters > map > tile, set the mode to "percent", click the "chain" to break it, and tile height 200% and width 300% - it gets a little more width since it's not as wide to start out with. Whatever you pick though make sure it's a multiple of 100% so the image will tile nicely.
Time to add some texture to it. I create a brand new layer.
On the new layer, I pick Filter > Render > Clouds > Plasma. Set turbulence to 7 and hit "new seed" a few times until you just like what you see, no big zones of darkness.
Go to filters > Map > Make seamless. Now I'm at this fine mess:
I set the layer mode to "darken only" so it brings out the damask pattern underneath
Colors > Desaturate so the layer is only gray tones
Colors > Brightness & contrast > Brightness minus 100 so it's darker
I adjust the transparency until I like what I see.
And now I have this, which is much darker in a cool vampire-y kinda way:
What do you think? A nice old wallpaper sort of background for any occasion. Playing with layer modes and brightness settings here can bring lots of interesting results, so have fun and let me know what works best for you!
Tuesday, August 13, 2013
Featured shop: The Peachy Rose
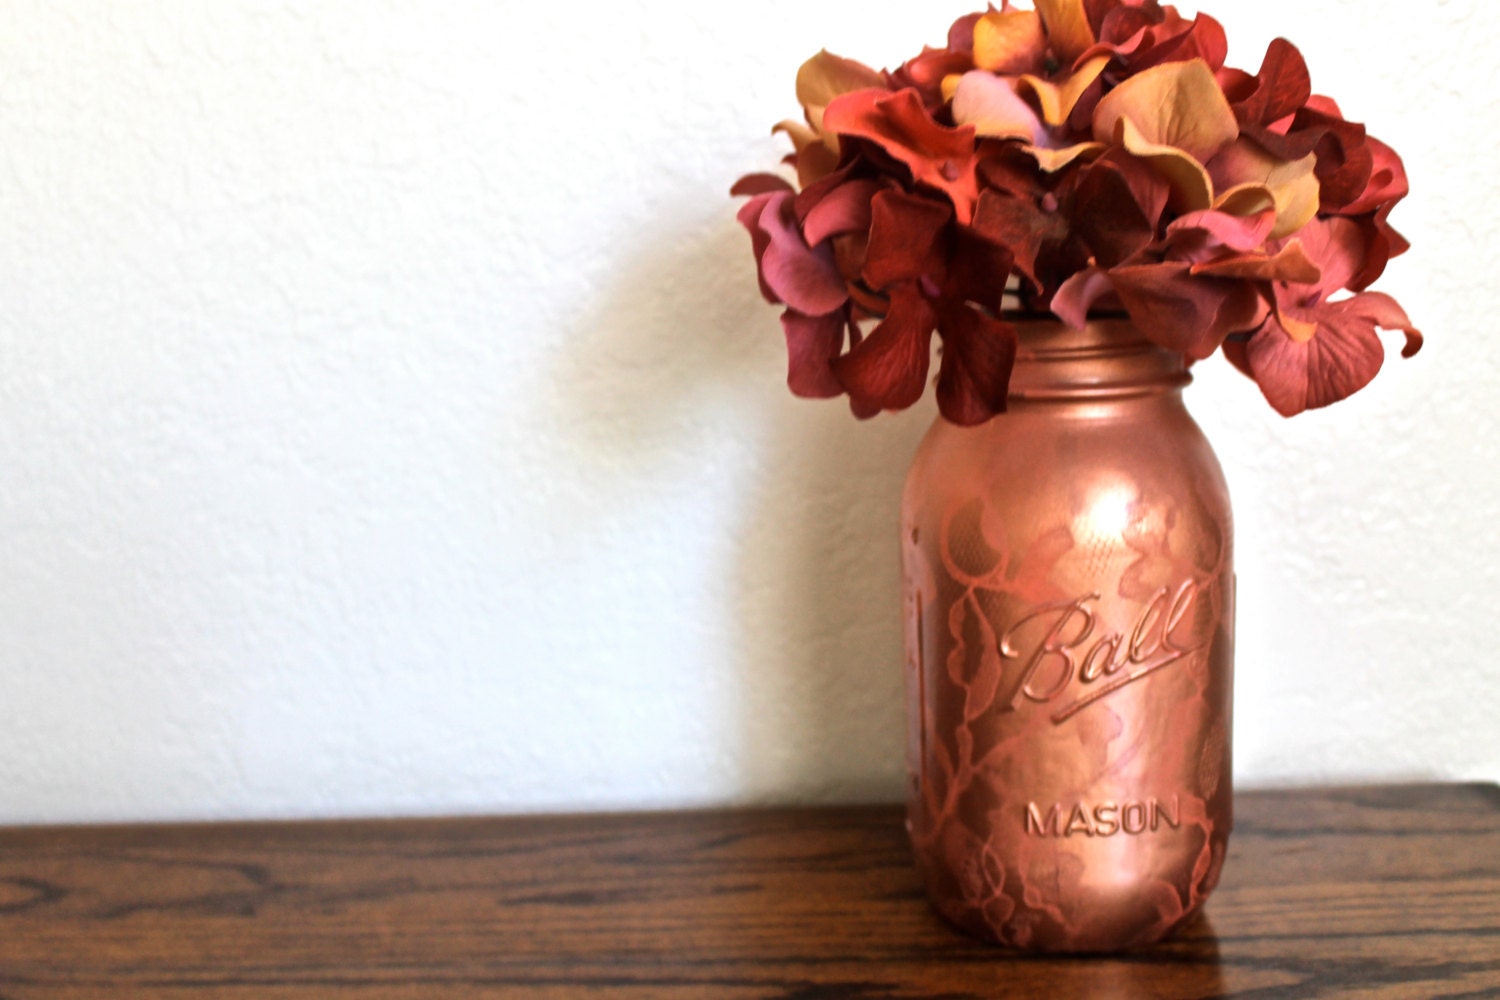 Bronze & Coral Lace Painted Ball Mason Jar Vase
by ThePeachyRose
Tell us a bit about yourself?
I am a twenty-one year old college senior living in Southern California. My major is biology, which is much different from the girly finds you will see in my shop. I have a wonderful boyfriend of almost 6 years that will be leaving for the Air Force in December. Art has played a large role in my life. I loved ceramics all throughout high school. After, I began working in a pottery shop for three years. During that time, I was able to help create custom creations for people's loved ones. Soon thereafter, I began making homemade gifts for my own loved ones. Thus, The Peachy Rose was born and named for my dear grandparents who have always shown so much support in whatever I have done.
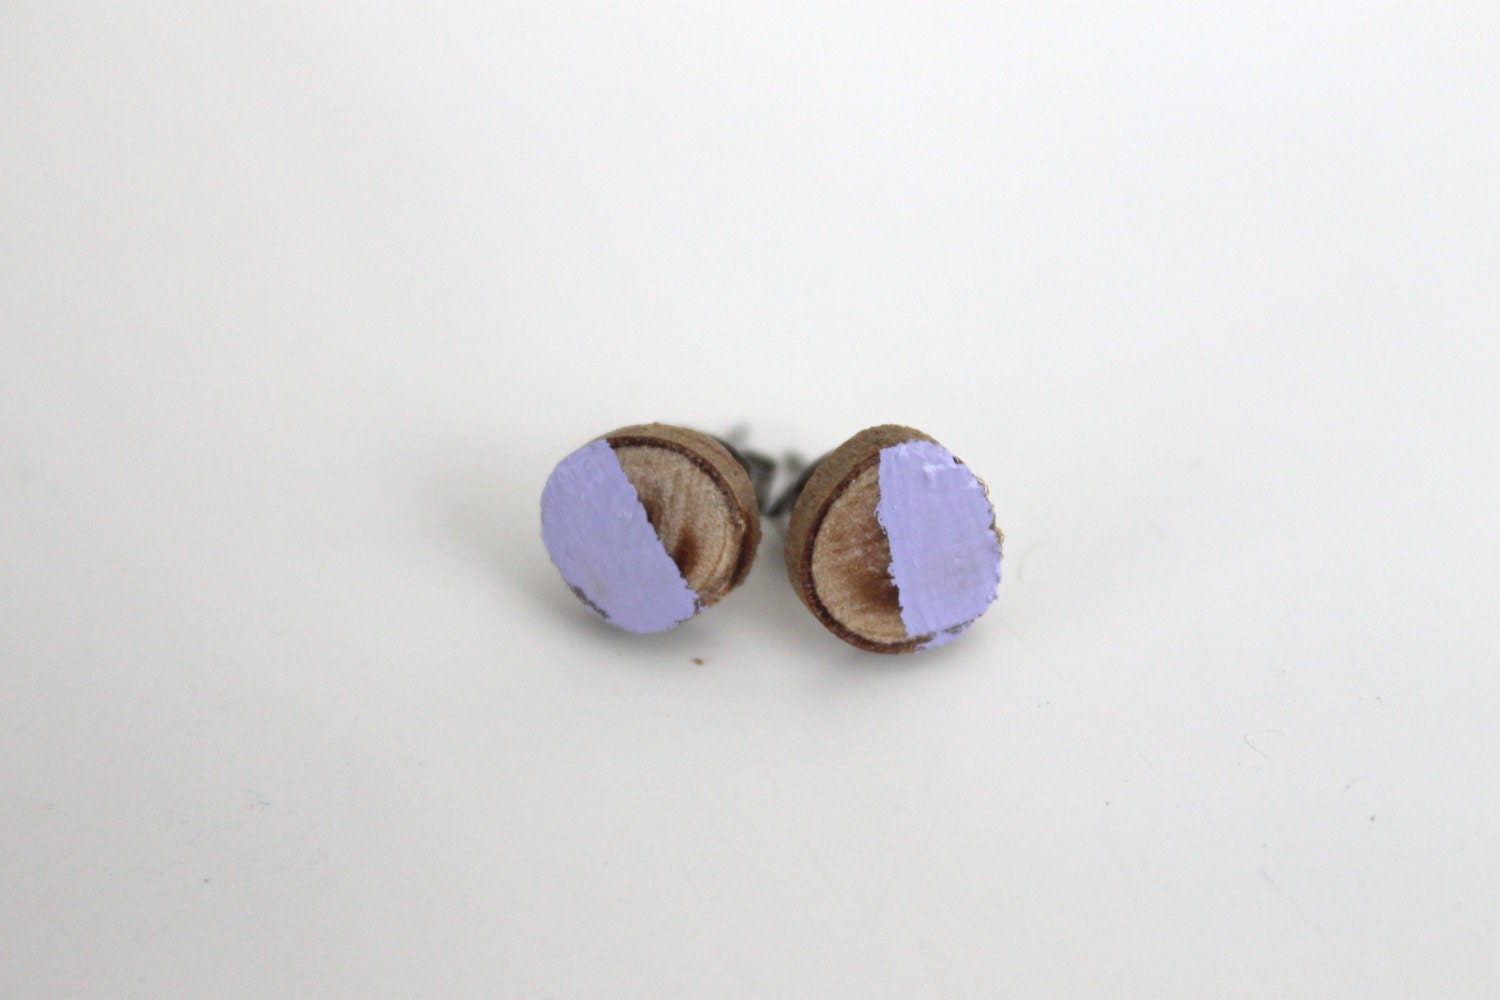 Lavender Painted Natural Wood Earrings
by ThePeachyRose
What got started making handmade items (especially out of reclaimed materials, how cool!)?
As a full time college student with a very small part time job, I realized my homemade creations were not only less expensive than buying pre-made gifts, but also meant more to the recipients.I have always loved thought of upcycling materials and making them beautiful again, especially with such simple items. My college is full of agriculture and large beautiful trees everywhere. I saw all of the branches on the ground and thought that I could make something out of them and repurpose the once lively branches. Earrings were one of the first things that came to mind. I love the natural look of the wood, but I also offer painted earrings as well.
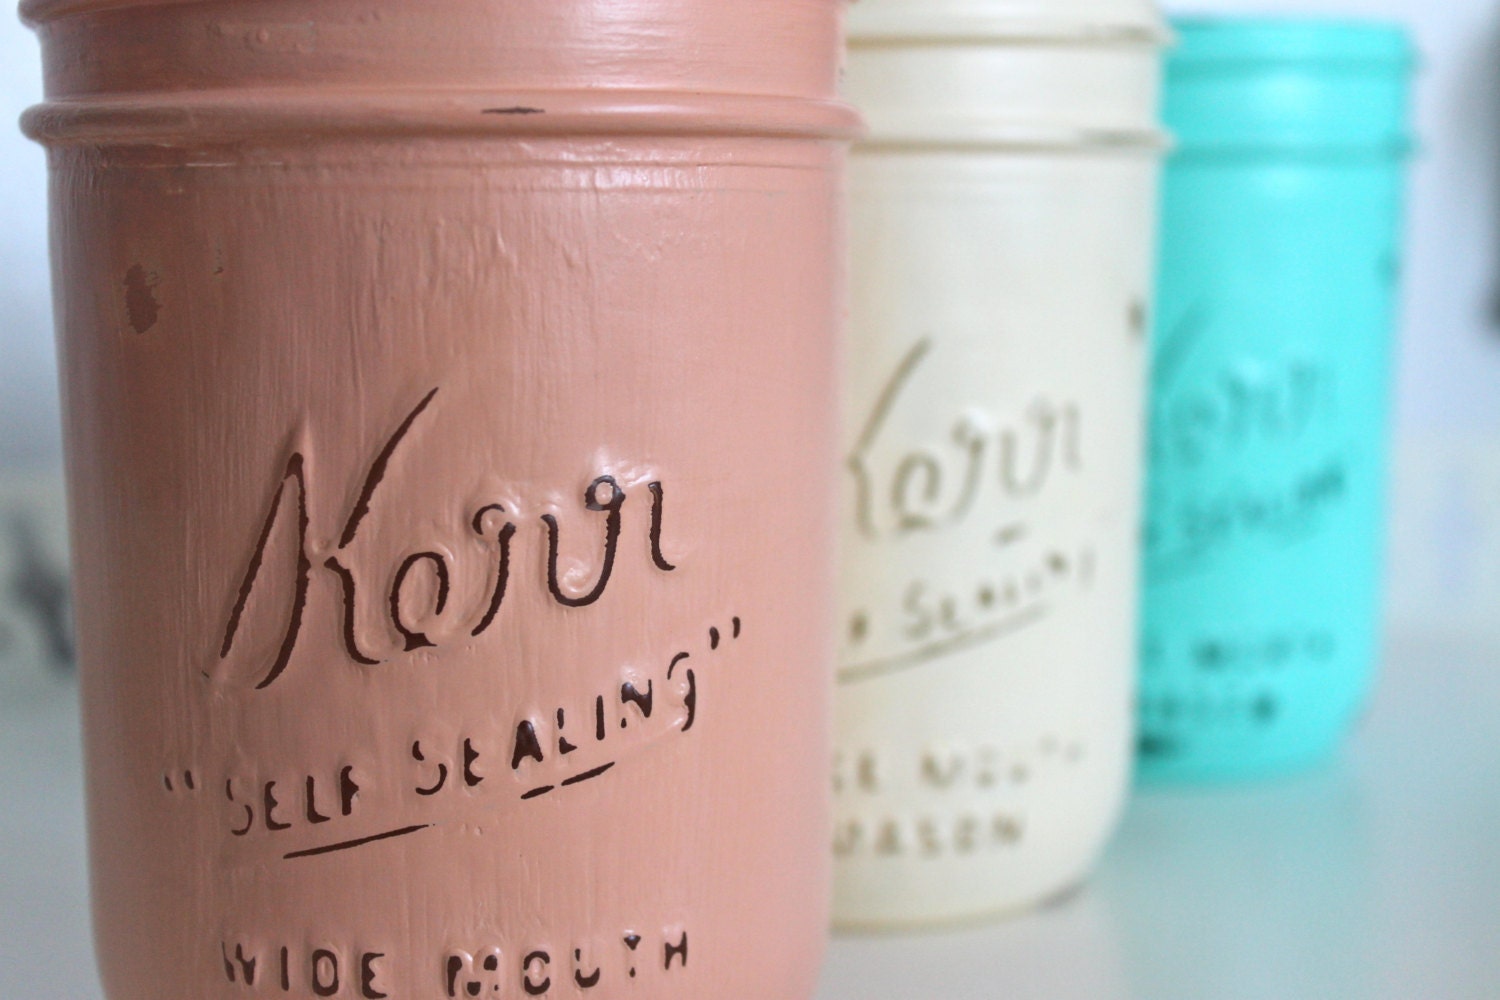 Set of 3 Painted Mason Jar Vases: Peach, Mint, and Ivory
by ThePeachyRose
What got you to open your shop on etsy?
I first came across Etsy while looking for materials for some of my gifts. Everyone was just so lovely and proud for selling their own products and creations. I believed I was capable in opening a shop, finding people that love my items as much as I do, and have earnings that I could set aside for my graduate school. Since my boyfriend is going to be most likely moving out of state for the Air Force, the ability to retain my business and move it wherever I go really appealed to me.
 Featured July 24th, 2013
Welcome Wednesday! The newest Etsy shops' items from $1-$50.
Natural Eucalyptus Wood Earrings
by Thepeachyrose
What inspires you?
Colors, seasons, and vintage items are the most pronounced inspirations for me. I love distressing newer items to give them that vintage appeal. Right now, the fall season is inspiring me. I love the scents and colors, and am in the process of making delightful candles and decor to match the warmth that the season brings.
Sunday, August 11, 2013
public domain tartan pattern
Here are some samples of it in blue & purple. And yes of course it tiles seamlessly :)
Thursday, August 8, 2013
Box-shaped zipper pencil case tutorial
But I've never posted a whole lot about my methods, and I need to for this contest, so here are the instructions for how to make a zipper pouch that's got some 3-D-ness to it.
It was also a fun chance for me to try scrawling on my photos with an ipad stylus... my handwriting is not the most beautiful but this method certainly gets to the point.
Here we go: the box-shaped pencil case in only a few EASY steps!
First, the pattern: I've got two here, one that's 3" and requires a 12.5x12.5" square of fabric, and one that gives you 2.5" sides and requires a 10.5"x12" square. Both require 8 inch zippers, but you can use a smaller zipper and add fabric to the ends before sewing it to make up for that, or you can use a longer zipper and just add inches of fabric.

To start: lay your lining and outside fabric on top of each other, right sides together. Sandwich the zipper in there, teeth up. Sew along the top edge. I don't get out my zipper foot for this, I just hit that lever on my sewing machine that moves the needle over a smidge.
Then sew the other side of the zipper.
Now this is important... open your zipper, at least halfway!
Then sew the side edges.
Then the corners - leaving the lining corners open.
Check to make sure each side's top and bottom are the same length, so your box will have square ends, not trapezoid ones. Then turn the whole thing inside-out through the open lining corners. This will be really easy as long as you remembered to leave your zipper open.
And topstitch the lining corners closed.
And you're done! Here's about what it should look like:




.jpeg)

.jpeg)
.jpeg)
.jpeg)
.jpeg)
